Local Server Using Gulp + Browsersync
September 19, 2015
Step-by-Step Instructions
- Run
npm insall - Ensure Gulp is installed globally
npm install --global gulp - Install Gulp in project dev dependencies (in project folder)
npm install --save-dev gulp - Install Browsersync
npm install browser-sync - Into the root folder of your project, create a new filed called package.json with the following code:
{ "name": "STC40", "version": "1.0.0", "description": "", "main": "gulpfile.js", "dependencies": { "gulp": "^3.8.11", "browser-sync": "^2.2.1", "gulp-load-plugins": "^0.8.1" }, "devDependencies": {}, "scripts": { "test": "echo \"Error: no test specified\" && exit 1" }, "author": "", "license": "ISC" } - Into the root folder of your project, create a new file called gulpfile.js and into it write:
var gulp = require('gulp');
var $ = require('gulp-load-plugins')();
var browserSync = require('browser-sync');
var reload = browserSync.reload;

gulp.task('serve', function () {
  browserSync({
    notify: false,
    port: 9000,
    server: {
      baseDir: "./",
      index: 'index.html'
    }
  });

  // watch for changes
  gulp.watch([
    '*.html', 'css/*.css', 'js/*.js'
  ]).on('change', reload);

});
With the above code, the gulpfile will look to load the ‘index.html’ page in the local server at port 9000. It will also watch and serve up in the local server any changes made to files with the extensions listed in the gulp.watch array.
Your root file/folder structure should now resemble:
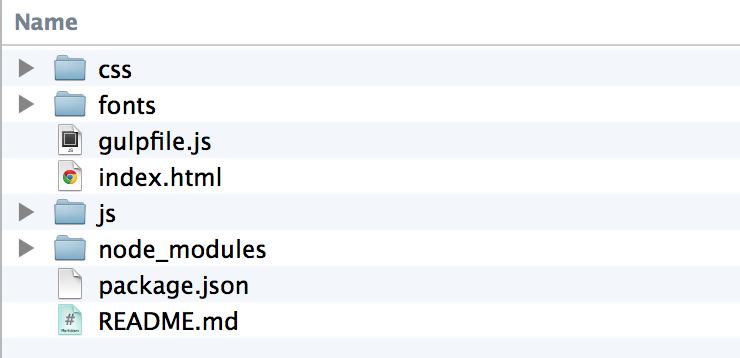
Finally, to see the local server up and running, from your commmand line run: gulp serve to see it boot up in your browser.
Back to Blog